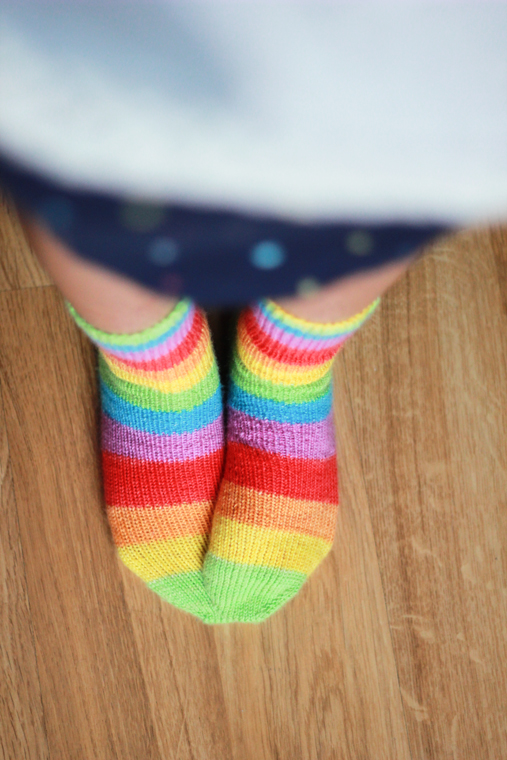
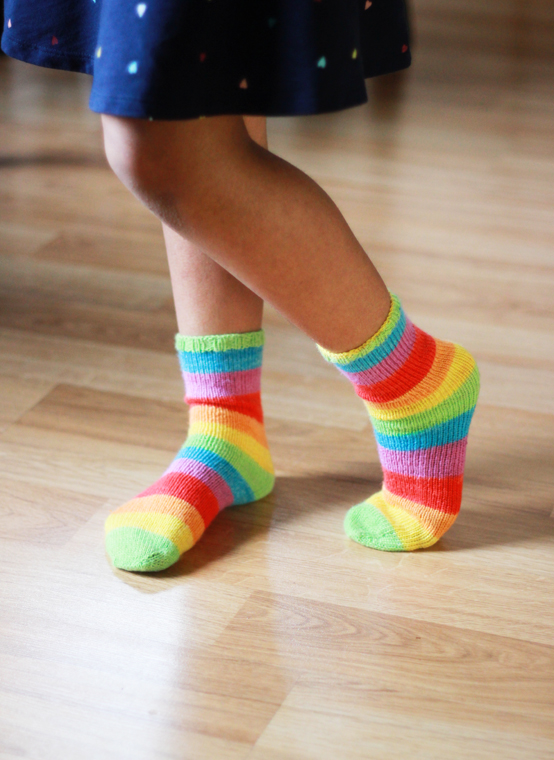
A pair of Rainbow socks were one of the handmade gifts I made this Christmas. A while ago, I bought a few skeins of Knit Picks Felici in all their cheery gorgeousness and instantly knew that my daughter would love a pair in the Rainbow colorway.
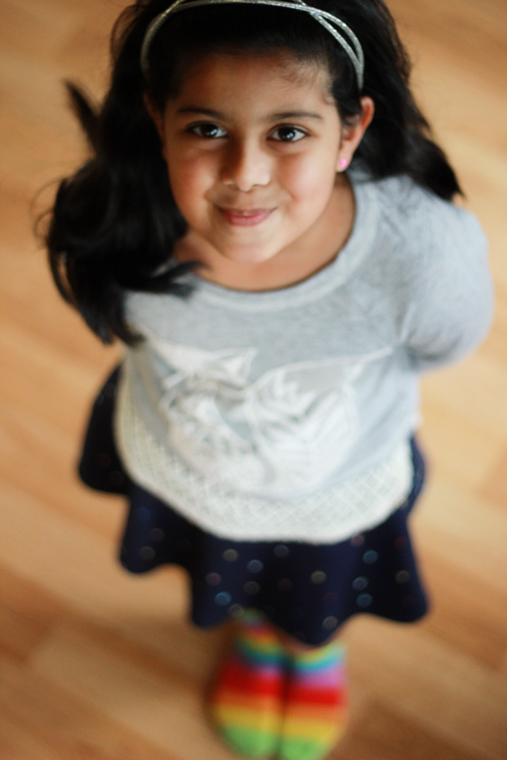
She’s one of those souls who keeps up a constant stream of chatter, always flitting about on her toes doing twirls and giggling incessantly about everything. She even giggles in her sleep and I definitely think she dreams about rainbows and unicorns! My sweet little, happy girl♥

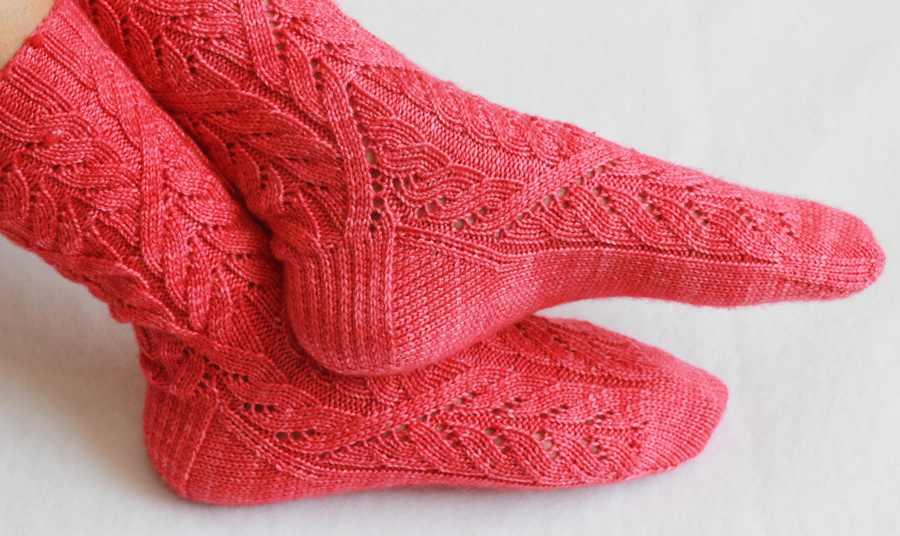
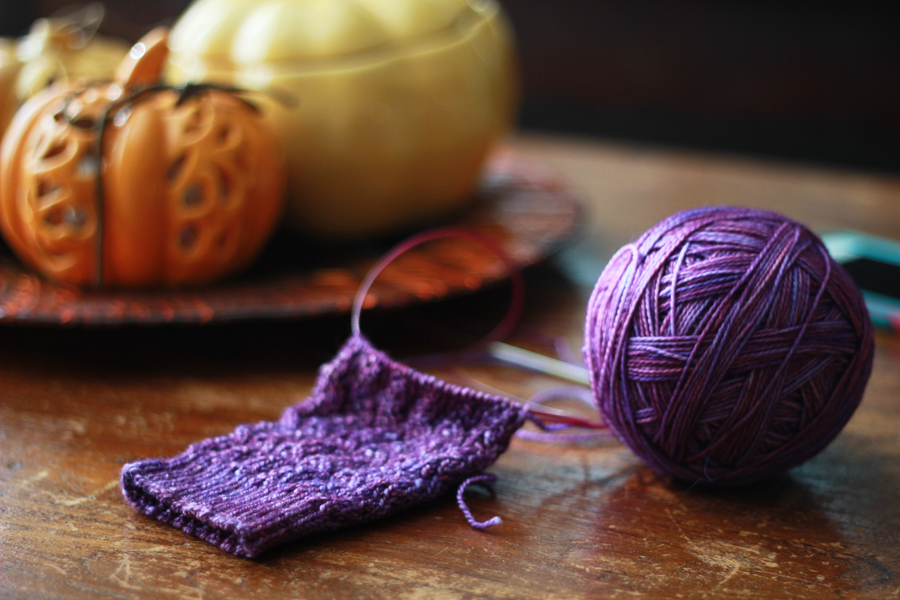
These rainbow socks were such a fun project!
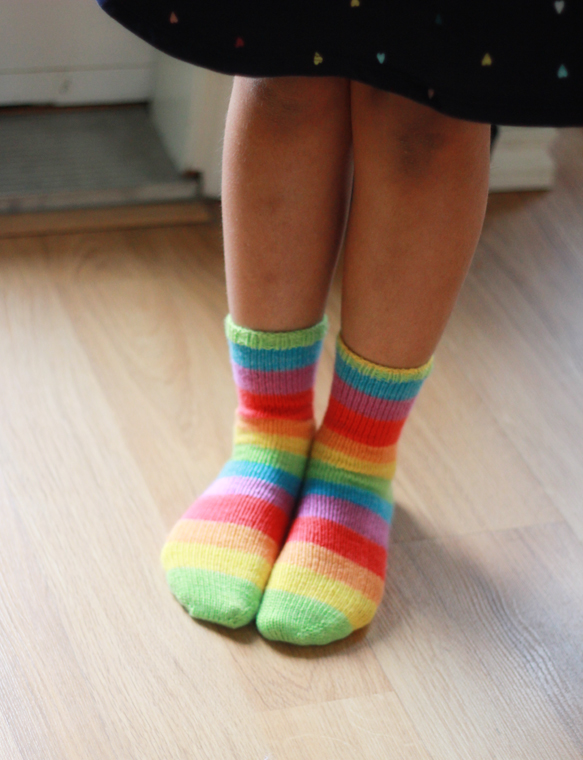
As we all know, it seems like kids outgrow their clothes before the end of the school day! Socks are no exception. Knitwear designer, Jane Richmond, has a daughter who is about the same age as mine and she wrote a pattern called, Tube Socks for Kids. With this pattern, you can rest assured that the little person won’t outgrow their socks in 33 seconds flat!
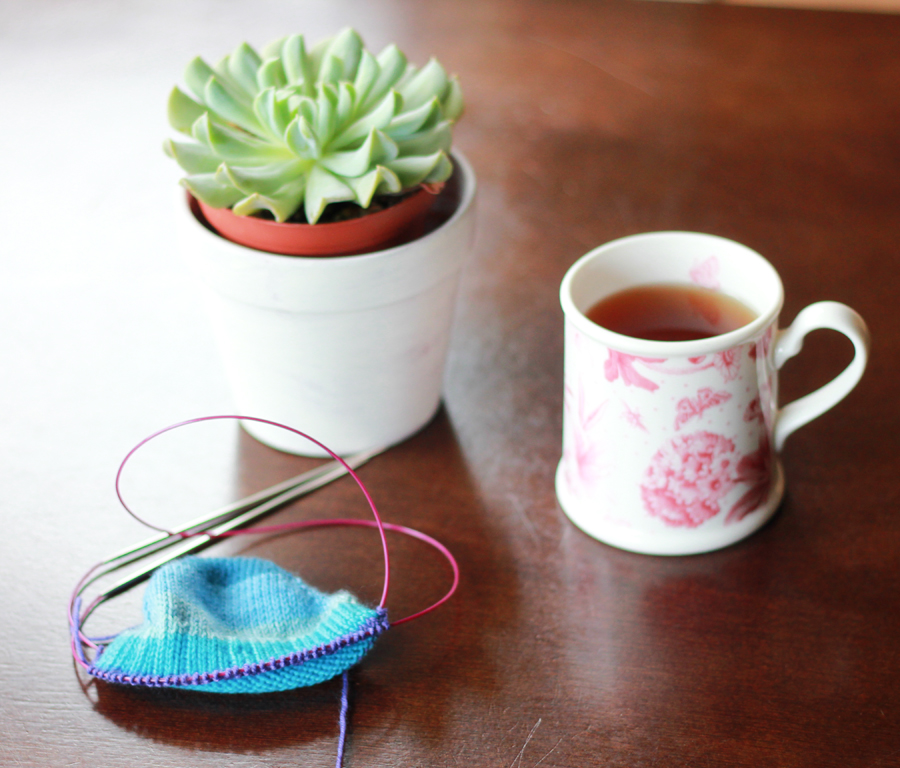
Early December found me curled up in bed with the worst case of the flu I’ve had in years! I needed a pick-me-up and cast on for Rainbow Stripes while sipping hot tea. By the time I had kicked the bug, I had cast off the first sock and begun the second!
These were ready and tucked into my daughter’s stocking for Christmas Eve.
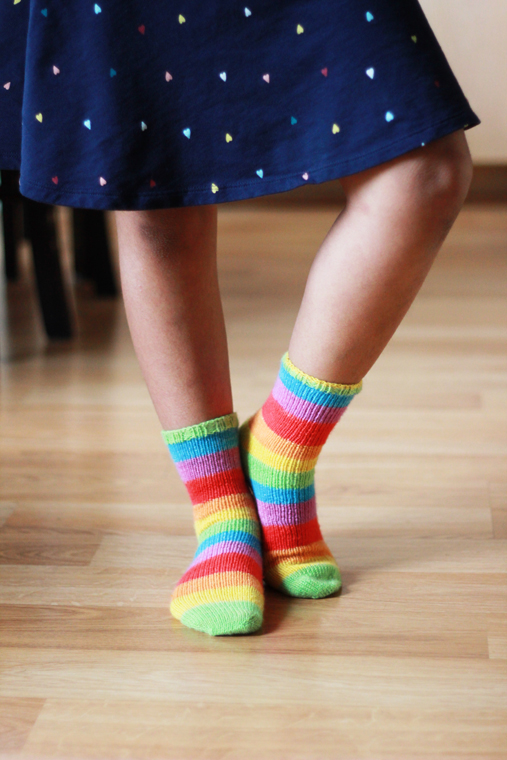
When she found them, the squeals of delight and twirling on rainbow toes and tight hugs that followed just made knitting these socks so worthwhile!
They have held up really well with being worn and washed many times already and she hasn’t outgrown them, yet 😉
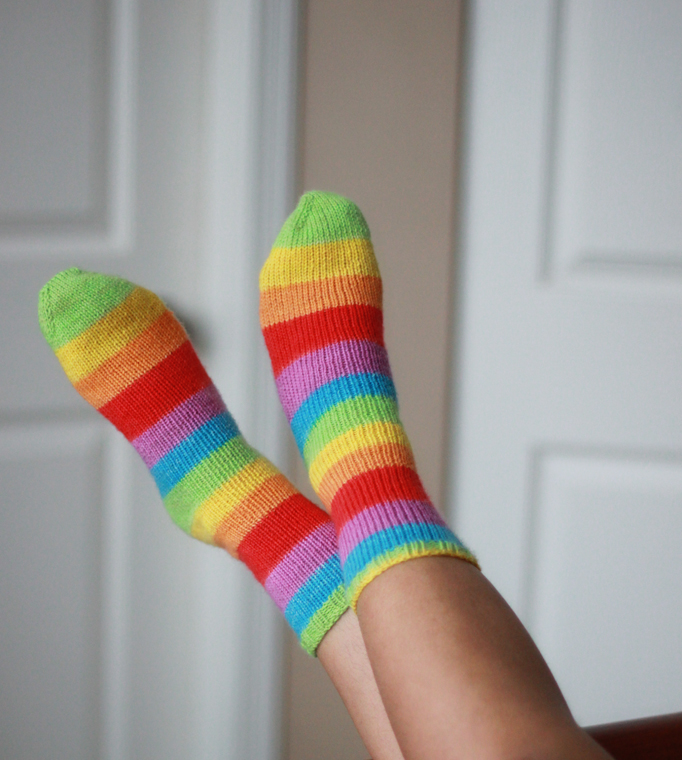
Rainbow Stripes (Ravelry notes)
Pattern: Tube Socks for Kids by Jane Richmond
Yarn: Knit Picks Felici in “Rainbow”
Needles: Size US 2 / 2.75 mm
** Linking up at Finish It Fridays **


 Post dinner, using