One evening last week, I was waiting for my daughter to finish Girl Guides and like so many other waiting moms, I popped into the local coffee shop for a drink. I was happy that I’d remembered to grab my knitting before I left the house because knitting and Starbucks are the perfect duo.
Deep in knit mode, I noticed the person sitting at the table next to me staring at my hands with curiosity. I knew a question about what I was doing would be forthcoming. You know, typical questions the muggles ask when they see you knitting in public. Like, was I crocheting or was this knitting? Did my grandma teach me to knit? Do I make all my kids’ sweaters and socks? Don’t I think wool is itchy? If you’re a knitter, I bet you have heard all these before and maybe even a few more. Nope, she didn’t ask me any of that. All she said was, “Glacier?”
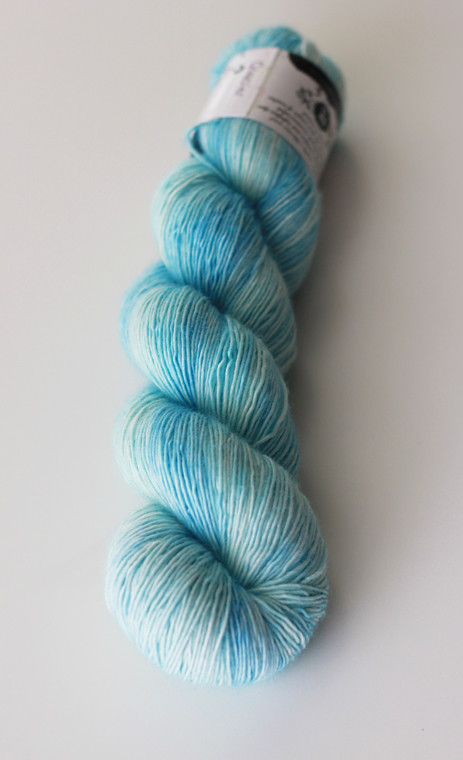
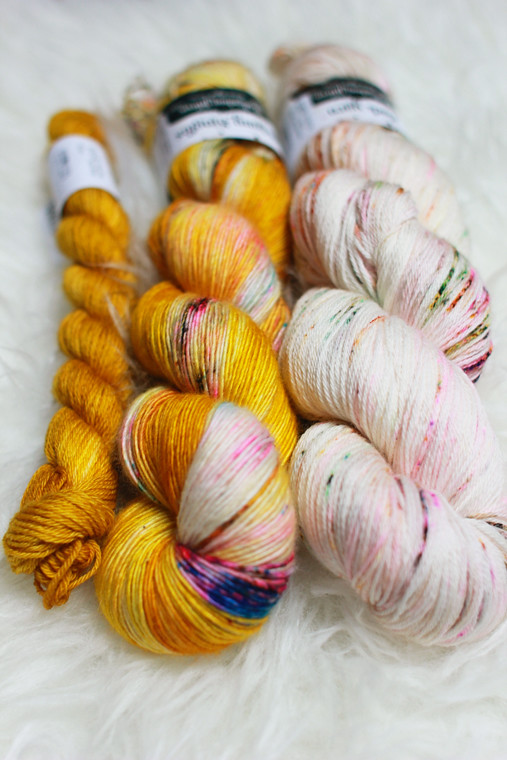
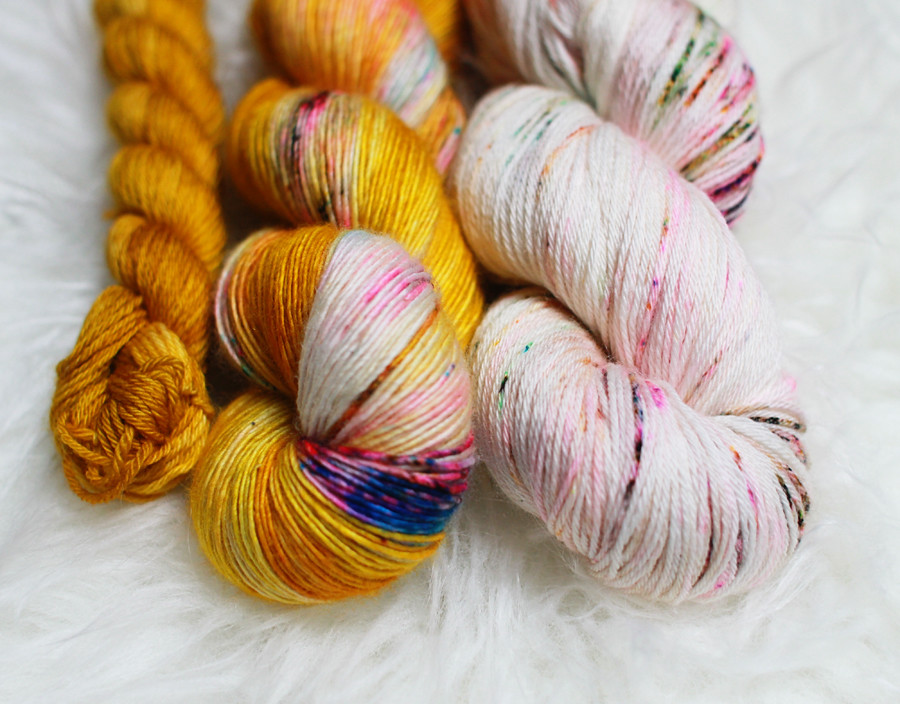
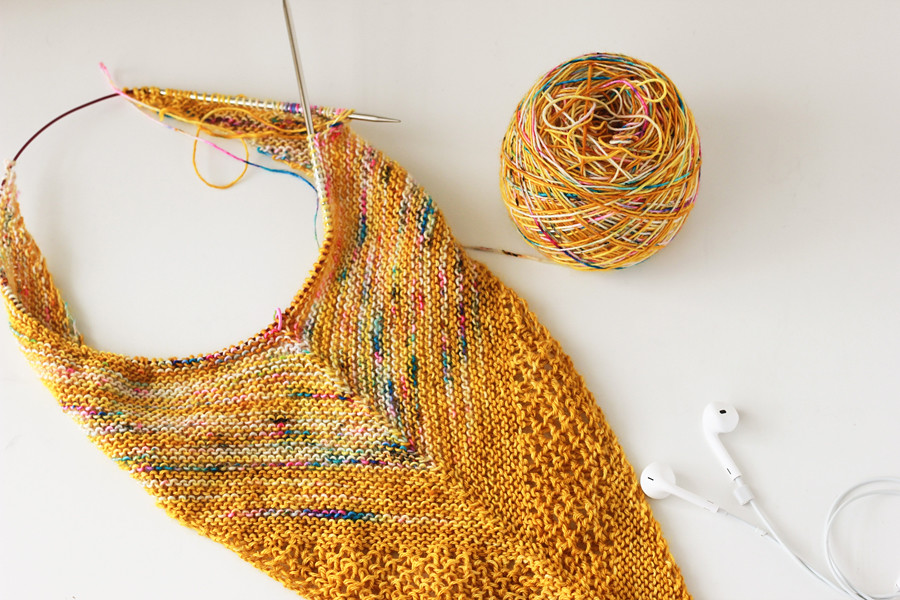
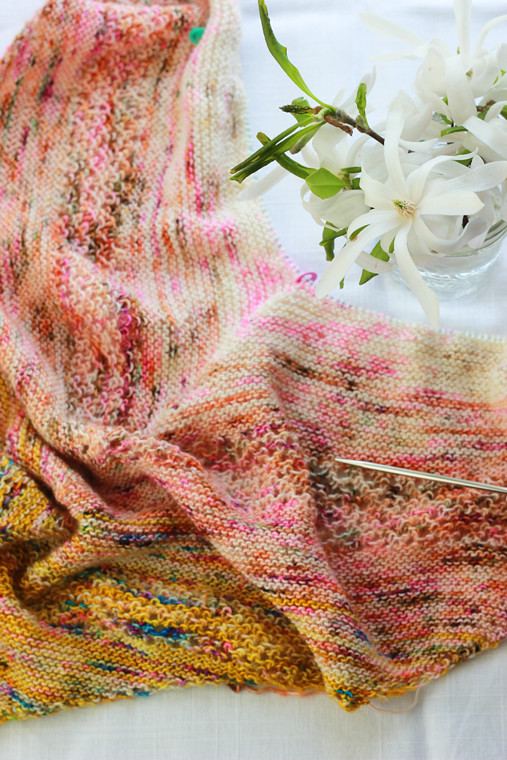
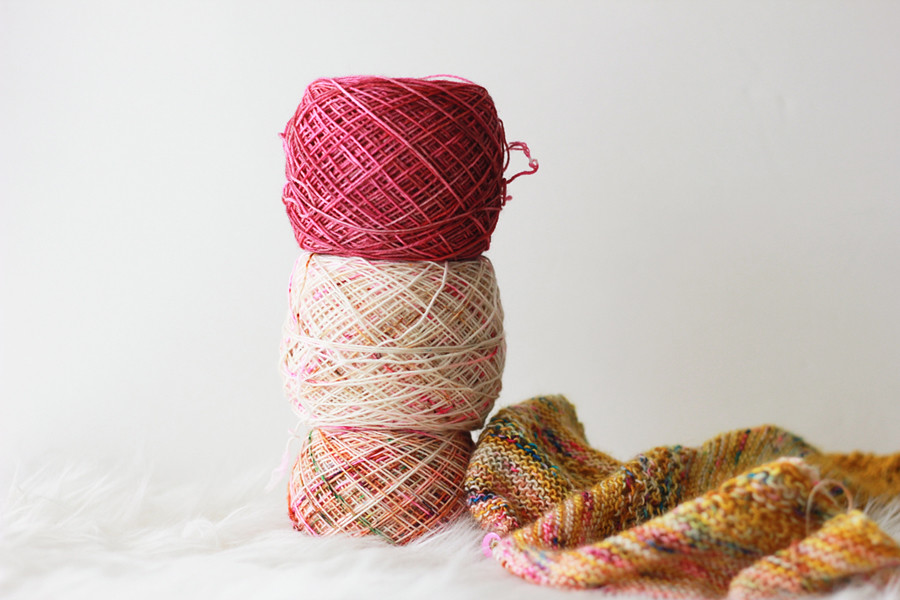
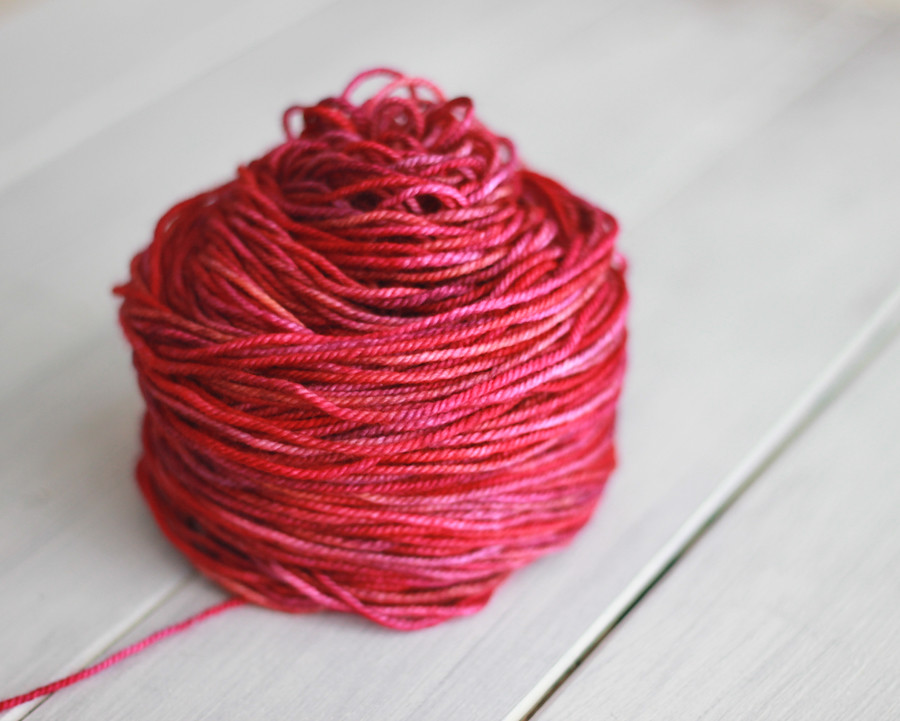
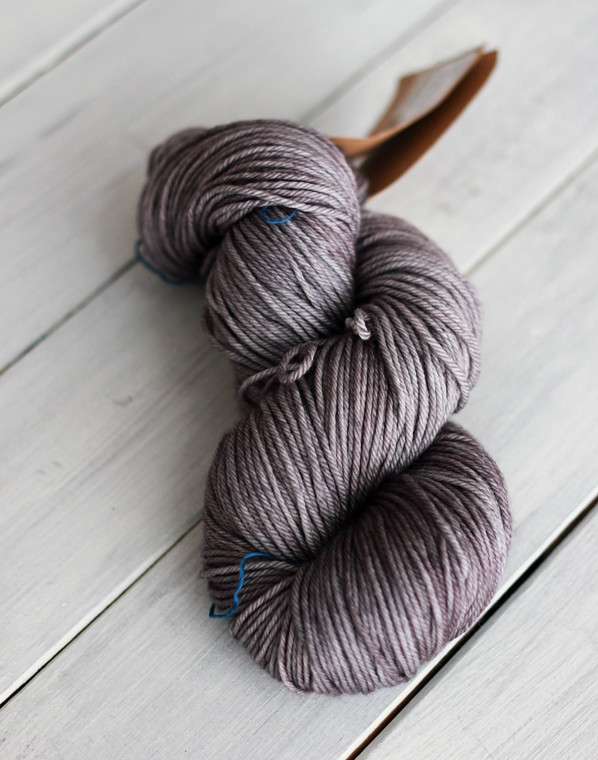
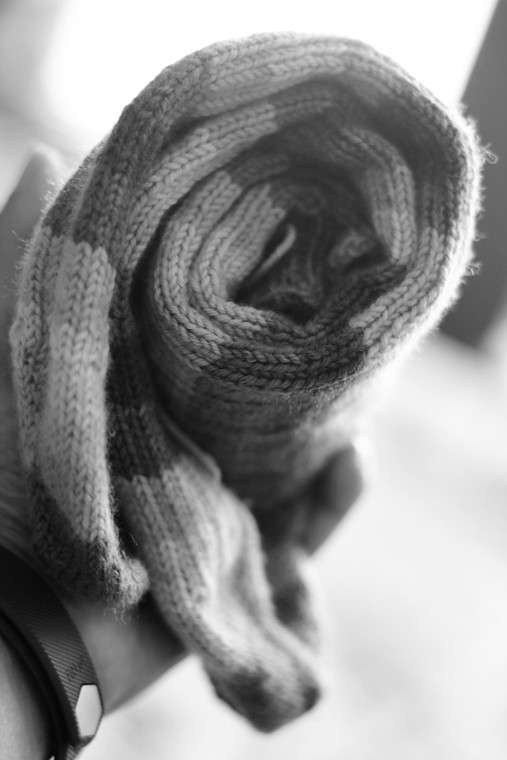
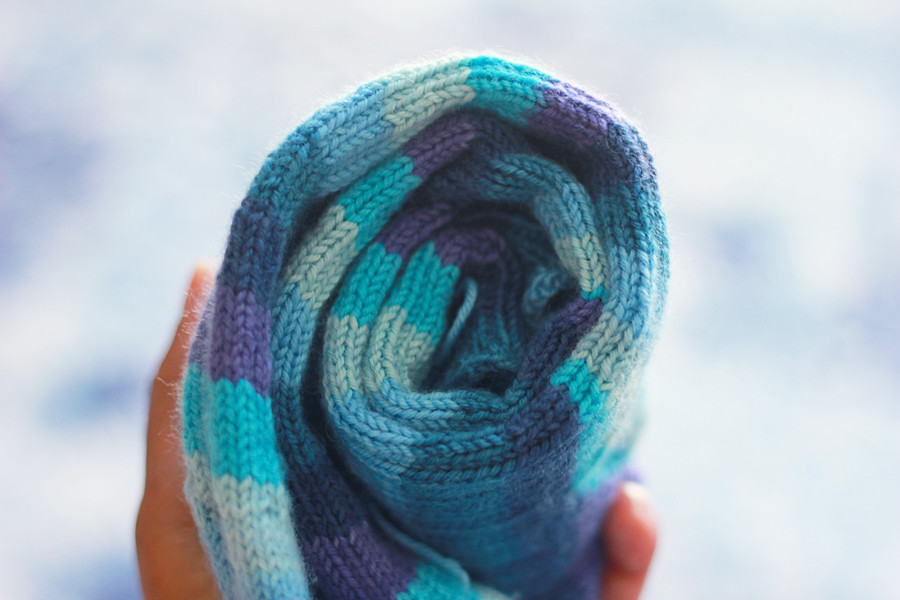
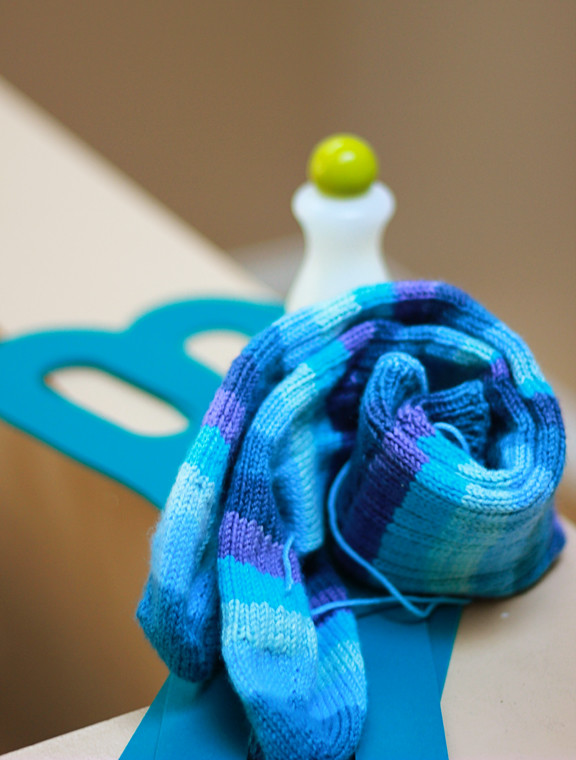
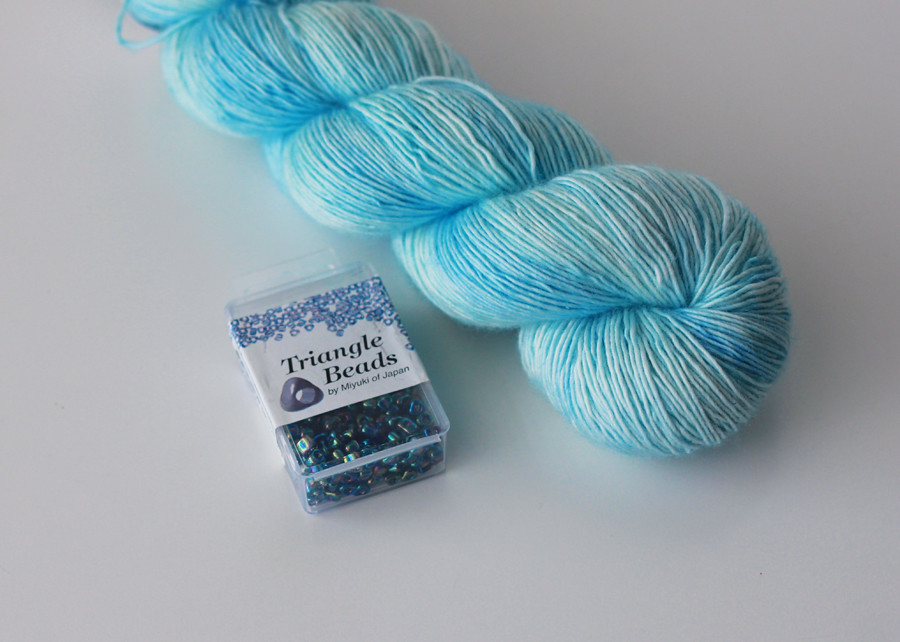
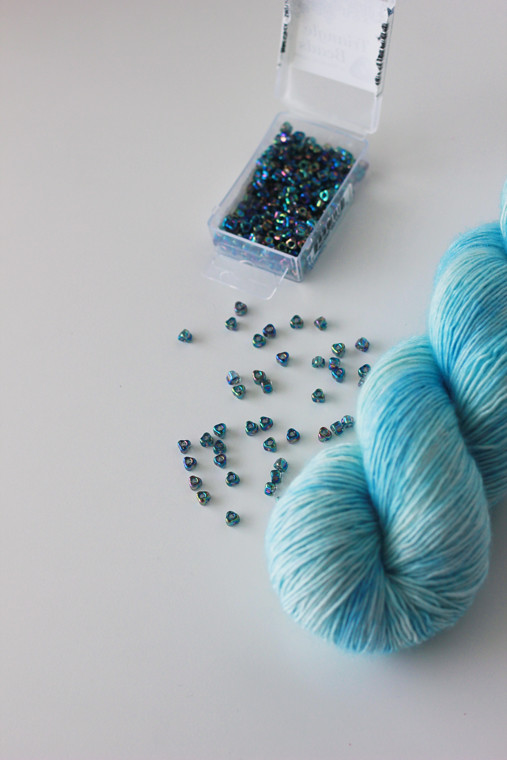
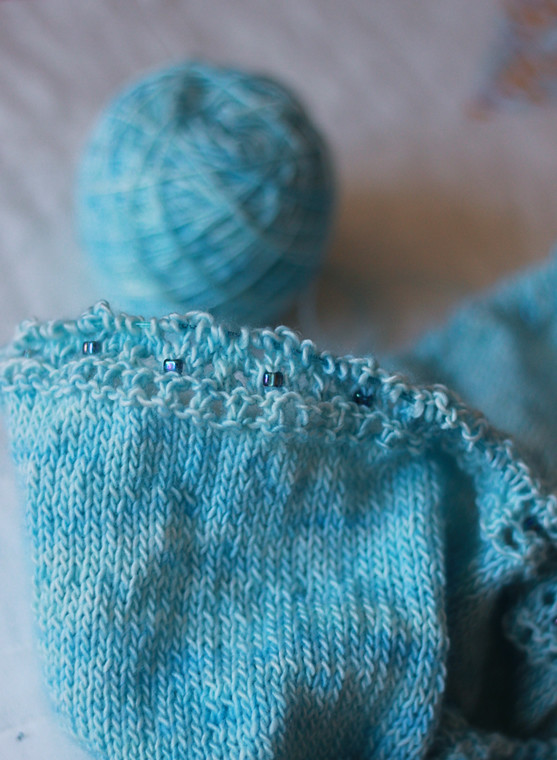
My current project on the needles is this lace shawl. The yarn I’m using is Hedgehog Fibres Skinny Singles. The colorway… wait for it… Glacier!!
Whoa, that lady knows her yarn! We got gabbing about yarny stuff. Turns out she’s from out of town visiting her daughter and like me, she’s a craft addict 🙂
I love the unexpected connections you make with others when you least expect it!
**Linking up at Frontier Dreams for Crafting On**